What's in this market read
- Before you start
- Step 1: Include an inspection contingency in your offer
- Step 2: Find and vet a licensed, insured inspector
- Step 3: Know what a standard inspection covers
- Step 4: Schedule it and attend in person
- Step 5: Understand the inspection report
- Step 6: Get specialist follow-ups if needed
- Step 7: Use the results to negotiate repairs, credits, or walk
- The worked example: an inspection that turns up issues
- What a home inspection covers
- Inspection findings by severity
- Common mistakes buyers make with inspections
- Troubleshooting: when the inspection gets complicated
- Your home inspection checklist
- The bottom line
Short answer: Getting a home inspection runs in seven steps: keep the inspection contingency in your offer, vet and hire a licensed and insured inspector, learn what a standard visual, non-invasive inspection covers and does not, schedule it and attend in person, read the report by severity, order specialist follow-ups where the generalist flags a concern, and use the findings to negotiate repairs, a credit, a lower price, or an exit.
Getting a home inspection is the step that turns an accepted offer from a hope into an informed decision, and it is also the step nervous buyers most often rush, shorten, or skip entirely. The mistake is rarely the house. It is treating the inspection as a formality to clear rather than what it actually is: a short window, bought with a small fee, to see the condition of a six-figure asset before the sale becomes final, and to keep a contractual way out if what you find is worse than you signed up for.
This market note turns the inspection into seven clear steps you can follow from the offer to the negotiation that follows the report. You will keep the right contingency, vet and hire a qualified inspector, learn what a standard inspection covers and what it does not, schedule it and attend, read the report by severity, order specialist follow-ups where they are warranted, and use the results to ask for repairs, a credit, a lower price, or to walk. This walkthrough sits alongside our offer market read, where the inspection contingency is chosen, our closing-cost market read, and, if you are early in the journey, our full first-home walkthrough. The companion beside this note reads your findings into a negotiation path for your own numbers as you go.
Key takeaways
- A home inspection is a visual, non-invasive look at the home's condition, bought with a small illustrative fee, that can reveal problems worth far more than it costs to find them.
- The inspection contingency in your offer is what gives you the right, the deadline, and the exit. Keep it unless you can genuinely absorb a five-figure surprise with no way out.
- Vet the inspector on license, insurance, and reviews, not price alone. The cheapest inspector on a six-figure purchase is a false economy.
- Attend in person, then read the report by separating major from minor and safety from cosmetic. No used home is perfect, and over-reacting to small items can cost you a good home.
- Order specialist follow-ups (roof, sewer, radon, pest, foundation) when the generalist flags a concern, then use the findings to negotiate repairs, a credit, a price cut, or a clean exit.
Before you start
An inspection is a project of days, not weeks, but it goes wrong the moment you treat it as an afterthought, so line up three things before Step 1. Treat what follows as the prerequisites and difficulty check, the way any good walkthrough begins: know what you are walking in with.
- An accepted offer with an inspection contingency. The inspection lives inside your purchase contract. The contingency gives you the right to inspect, a deadline to do it by, and a defined exit if the condition is worse than expected. Without it, you can still inspect, but you lose most of your leverage and your way out.
- Room in your budget for the fee. The inspection is paid by you, out of pocket, commonly an illustrative few hundred dollars, and specialist follow-ups add more. Set that money aside as part of your cash-to-close planning rather than being surprised by it.
- Your agent and your contingency deadline in hand. Know the exact date your inspection window closes, because every later step, scheduling, reading the report, ordering follow-ups, and negotiating, has to happen before it.
Difficulty is moderate, and the hardest part is judgment rather than logistics: deciding which findings are worth a renegotiation and which are the normal wear of a used home. The active inspection process, from booking to a negotiated resolution, commonly runs several days to a couple of weeks depending on scheduling and follow-ups. With those three things ready, the seven steps become a short, orderly sequence, and the companion beside this market note will translate your findings into a negotiation path as you read.
Step 1: Include an inspection contingency in your offer
Start before the inspection even exists, back at the offer, because the inspection contingency is what makes everything that follows possible. As our offer market read explains, the inspection contingency is a clause in your purchase agreement that gives you a defined window to have the home professionally examined and the right to renegotiate, request repairs, or exit the contract with your earnest money if the condition is worse than you expected. Without it, an inspection is just information you paid for with no contractual power behind it.
Set the window with care. The contingency names a deadline, commonly a short span of days after acceptance, by which you must complete the inspection and act on it. That deadline governs the whole timeline in this note, so you want it long enough to schedule the inspection, receive the report, and order any specialist follow-up, without being so loose that the seller balks. Your agent negotiates this alongside the price and the other contingencies.
Put it in context with the worked example that runs through this note. Suppose you have an accepted offer on an illustrative $400,000 home with a ten-day inspection window. That window is your working clock: book the inspection in the first day or two so a flagged issue still leaves time for a sewer scope or a structural opinion before the deadline. Watch out for two things. First, in a competitive market you may feel pressure to waive this contingency to win, which trades a small known fee for an unlimited unknown risk, so weigh it hard rather than reflexively. Second, a contingency you let lapse by missing the deadline is as good as waived, so calendar the date the moment your offer is accepted. Keep the companion open and it will hold your negotiation options in view as the findings come in.
Step 2: Find and vet a licensed, insured inspector
With the contingency in place and the clock running, hire the right person quickly, because the inspection is only as good as the inspector, and a rushed pick from a single referral can leave you underinformed. Start with candidates from more than one source: your agent can suggest inspectors, but gather a couple of independent names too, so you are choosing rather than defaulting. Then vet each one on three things that matter more than the fee.
First, credentials. In many places home inspectors are licensed or certified, and membership in a recognized professional association signals a standard of practice, so confirm the inspector meets the local requirement rather than assuming it. Second, insurance. A reputable inspector carries liability coverage, sometimes called errors and omissions insurance, which protects you if something is missed, so ask whether they carry it. Third, reviews and a sample report. Read recent reviews for patterns of thoroughness and clear communication, and ask to see a sample report, since a detailed, photographed, plainly written report is far more useful than a thin checklist.
Put it in context. On the illustrative purchase, you might gather three inspectors, confirm each is licensed and insured, read their reviews, and compare their sample reports and prices, then choose the one whose report is clearest and whose reviews are strongest, even if the fee is not the lowest. Watch out for two traps. Do not hire on price alone: the cheapest inspector on a six-figure home is a false economy, and a missed major defect dwarfs any savings. And be cautious about conflicts of interest, for example an inspector who also wants to bid on the repairs they find, which muddies whose interest the report serves. Choose the inspector whose only job is to tell you the truth about the house.
Step 3: Know what a standard inspection covers
Before the visit, learn the scope, because knowing what a standard inspection does and does not include is what tells you when a specialist follow-up is worth ordering. A general home inspection is a visual, non-invasive examination of the home’s readily accessible systems and components on the day of the visit. The inspector looks at the roof and exterior, the structure and foundation as far as it is visible, the electrical system, the plumbing, the heating and cooling equipment, the interior including walls, floors, windows, and doors, and the insulation and ventilation. The chart later in this note lays out an illustrative picture of where a standard inspection concentrates.
Just as important is what a standard inspection does not cover. Because it is visual and non-invasive, the inspector generally will not open walls, move heavy furniture, dig up buried lines, or run any test that would damage the home. That means concealed defects can be missed, and several specific things usually fall outside the standard scope: the sewer line, the presence of radon, mold behind surfaces, pests inside structures, and detailed structural or specialty-system analysis. These typically require a separate specialist, which is the whole point of Step 6.
Put it in context. On the illustrative home, the standard inspection tells you the visible condition of every major system, but if the home is older, sits on a sloped lot, or has mature trees near the sewer line, the scope section is your cue that a sewer scope or a structural opinion may be worth the added cost. Watch out for the expectation that an inspection is a guarantee: it is a snapshot of condition, not a warranty of future performance, and reading the scope and exclusions up front keeps you from being falsely reassured by a clean generalist report on a home whose real risks sit outside the standard scope.

Step 4: Schedule it and attend in person
With the inspector chosen and the scope understood, book the visit early in your contingency window and plan to be there, because attending in person is one of the highest-value things a buyer can do. Schedule the inspection in the first day or two after acceptance so that if the report flags something, you still have time inside the deadline to order a specialist follow-up and negotiate. Coordinate access through your agent, since the home is still the seller’s until closing, and confirm how long the inspection is expected to take so you can plan your day around it.
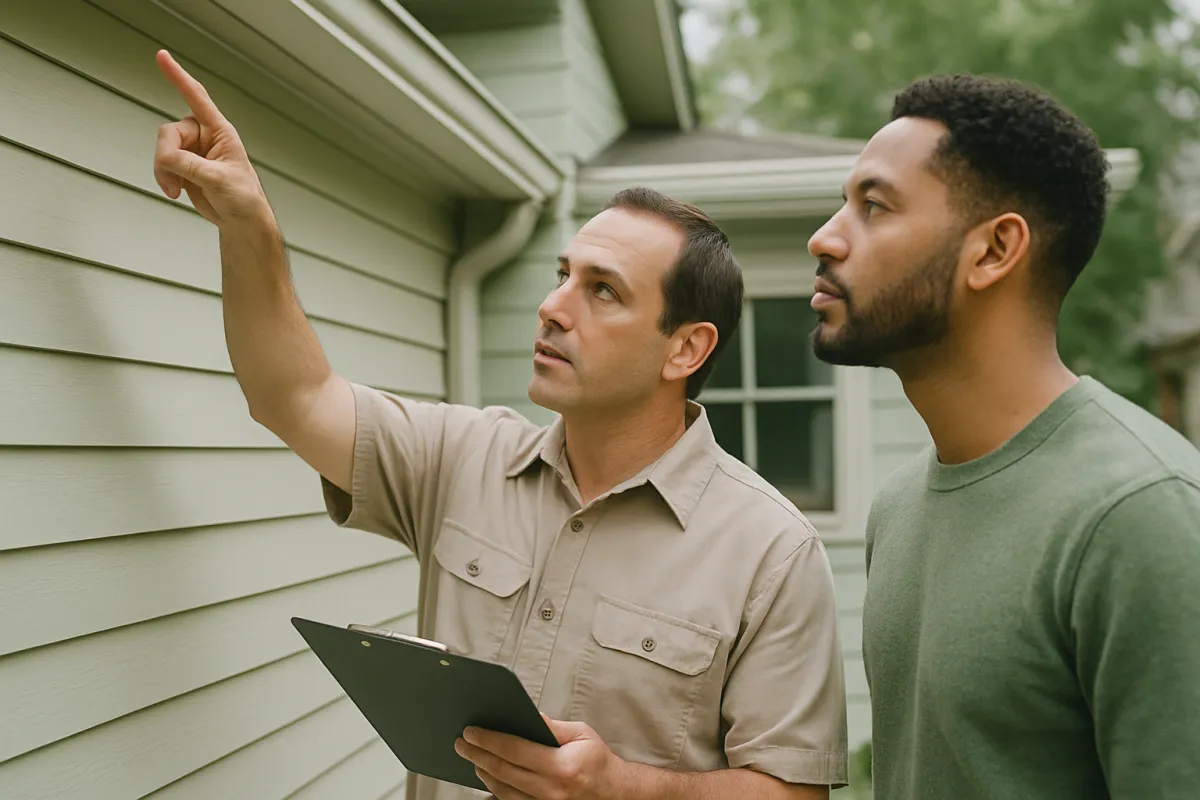
Attending changes what you get out of the inspection. A written report describes a problem; standing next to the inspector lets you see it in context, ask whether it is urgent or cosmetic, and learn where the water shutoff, the electrical panel, and the main systems are, which is knowledge you will use as an owner. Many buyers arrive for the last portion of the inspection, letting the inspector work through the home uninterrupted first, then walk the significant findings together at the end.
Put it in context. On the illustrative home, you meet the inspector for the final hour, and they walk you to a water stain on a ceiling, a double-tapped breaker in the panel, and an aging water heater, explaining which is a safety issue, which is routine maintenance, and which is simply near the end of its service life. Seeing those in person reshapes how you weigh them far more than a line in a document would. Watch out for two things. Do not treat the walkthrough as your only record: still read the full written report closely, since it captures detail the conversation skips. And if you genuinely cannot attend, ask for a phone or video walkthrough and go through the report line by line with your agent rather than skimming the summary.
Step 5: Understand the inspection report
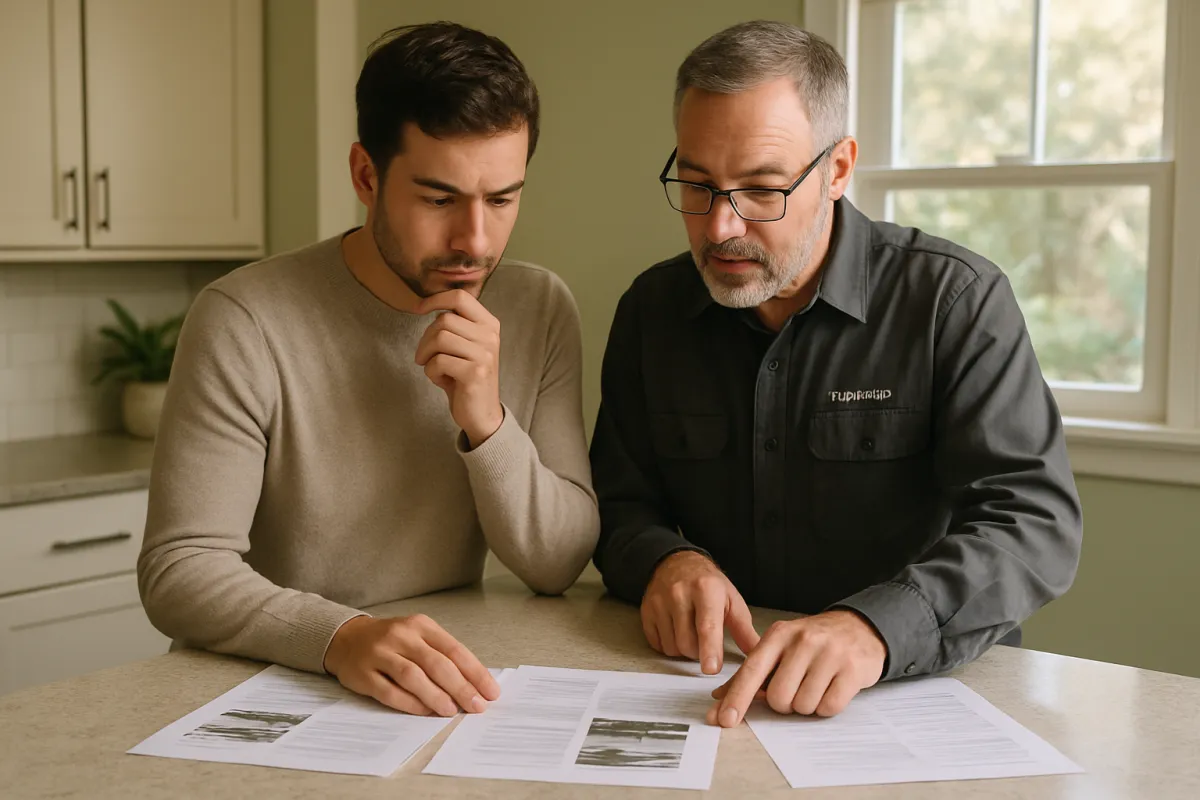
When the report arrives, usually within a day or two, read it as a triage exercise rather than a pass-or-fail grade, because the point is not whether the home has problems, every used home does, but which problems matter. A good report is a detailed document with photographs, a summary of significant findings, and a scope-and-exclusions section. Read the whole thing, but organize what you find along two axes that decide how you respond.
The first axis is major versus minor. A major item is expensive or structural: a failing roof, a compromised foundation, an old system near the end of its life, or extensive water damage. A minor item is small and cheap to address: a loose railing, a dripping faucet, a worn seal. The second axis is safety versus cosmetic. A safety item threatens the occupants, faulty wiring, a gas concern, a trip hazard, and generally rises to the top of any repair conversation regardless of cost, while a cosmetic item, a scuffed wall, a dated fixture, is a preference, not a defect. Sorting every finding into those buckets is what turns a long, alarming list into a short list of things that actually warrant action.
Put it in context. On the illustrative home, the report lists twenty items. Most are minor or cosmetic and belong on your future maintenance list, not a repair demand. A few are moderate, a water heater near end of life, some dated plumbing, and one is potentially major, a note of possible foundation movement that the inspector recommends a specialist evaluate. That sorting, not the raw count of items, is what you carry into the negotiation. Watch out for two errors. Do not panic at the length of the list, since a thorough inspector documents everything, including the trivial. And do not gloss over a safety or major item because the rest of the report looks clean.
Step 6: Get specialist follow-ups if needed
When the generalist flags a concern, or the home’s age and setting warrant it, order the specialist, because a standard inspection tells you that something may be wrong, and a specialist tells you how wrong and what it will cost to fix. This is the step that converts a vague red flag into a number you can negotiate with, and it is why Step 3’s scope section matters: the specialist covers exactly what the standard inspection does not.
Several follow-ups are common. A roof specialist assesses a roof the generalist noted as aging or damaged, and can estimate remaining life and replacement cost. A sewer scope runs a camera down the sewer line, which the standard inspection excludes, and matters most on older homes or lots with mature trees whose roots invade pipes. A radon test measures for a gas that no visual inspection can see. A pest inspection checks for termites and other wood-destroying organisms. A structural or foundation engineer evaluates cracks or movement the generalist could only note. Each is priced separately and adds to your total.
Put it in context. On the illustrative home, the generalist’s note of possible foundation movement is exactly the cue to spend on a structural evaluation before the contingency deadline, because the difference between minor settling and a serious structural problem can be the difference between a small repair and a five-figure one, and you want that answer before you commit. You might also order a sewer scope given the home’s age. Watch out for two things. Do not skip a warranted follow-up to save a few hundred dollars, since the specialist’s answer is often what determines whether you buy at all. And schedule follow-ups the moment the generalist report lands, because they take time and your contingency clock is still running.

Step 7: Use the results to negotiate repairs, credits, or walk
With the report and any specialist opinions in hand, turn the findings into an action before the contingency deadline, because the inspection’s entire value is realized here, in what you do with what you learned. You have four broad paths, and the right one depends on the severity of the findings, the market, and the numbers. As our offer market read frames it, this is a negotiation, so lean on your agent to read what the seller is likely to accept.
The first path is a repair request: ask the seller to fix specific items, usually the safety and major ones, before closing. The second is a credit or price reduction: rather than have the seller manage repairs, you ask for a closing credit or a lower price and handle the work yourself, which many buyers prefer because they control the quality. The third is a specialist-scoped negotiation: when a follow-up put a real number on a major item, you negotiate against that number. The fourth, reserved for serious defects, is to walk away using your inspection contingency, recovering your earnest money, which is the protection Step 1 preserved.
Put it in context. On the illustrative home, the structural evaluation confirms a real but repairable foundation issue with a meaningful cost. You ask for a price reduction or a credit to cover it, plus repair of the safety wiring item, and you let the twenty minor and cosmetic findings go. The seller counters with a partial credit, and you accept because the adjusted numbers still fit your budget, as our first-home walkthrough would frame the overall decision. Watch out for over-reaching: demanding the seller fix every minor item can sink a deal on a home you could comfortably keep, while ignoring a major defect to save the transaction can saddle you with it. Feed your findings into the companion and it will point you toward the path that fits.
The worked example: an inspection that turns up issues
Numbers and decisions cohere when they run through one scenario, so follow an illustrative buyer, call him Daniel, from an accepted offer to a resolved negotiation. In Step 1, Daniel has an accepted offer on an illustrative $400,000 home with a ten-day inspection contingency, so his first move is to calendar that deadline. In Step 2, he gathers three inspectors, confirms each is licensed and insured, reads their reviews, compares sample reports, and hires the one with the clearest report for an illustrative fee in the low hundreds, not the cheapest of the three.
In Step 3, Daniel reads the scope and notes the home is older with mature trees near the street, which flags the sewer line as a likely follow-up. In Step 4, he books the inspection for day two of his window and attends the final hour, where the inspector walks him to a water stain, an aging water heater, a double-tapped breaker, and a hairline pattern the inspector says a structural specialist should evaluate. In Step 5, Daniel sorts the twenty-item report: most are minor or cosmetic, a handful are moderate, and one, the possible foundation movement, is potentially major.
In Step 6, with the clock running, Daniel orders a structural evaluation and a sewer scope. The structural opinion confirms a real but repairable issue with a meaningful, illustrative cost, and the sewer scope comes back clear. In Step 7, Daniel asks the seller for a credit to cover the foundation repair and the safety wiring item, and lets the cosmetic list go. The seller counters with a partial credit, and because the adjusted numbers still fit the budget his affordability read set, Daniel accepts. He bought with his eyes open, priced the real condition into the deal, and kept his contingency as the exit he never had to use. Run your own home price, inspection fee, and findings through the companion for your version of Daniel’s outcome.
What a home inspection covers
Every decision above rests on one thing: knowing where a standard inspection concentrates and where it stops. The chart holds an illustrative picture of that scope, expressed as the rough share of a standard inspection’s attention across the major systems it examines. The point is not the exact figures, which vary by home and inspector, but the shape: a standard inspection is broad and visual across many systems, and thin or absent on the specialty items Step 6 exists to cover.
Where a standard home inspection concentrates, illustrative
Rough share of a standard inspection's attention by system. Bars are scaled to the largest area. Illustrative only, confirm scope with your inspector.
Each bar is scaled to the roof-and-exterior figure of 22 percent. The shares are illustrative and sum to about 100 percent across the systems a standard inspection examines. Notice what is absent: sewer line, radon, mold behind surfaces, and detailed structural or pest analysis fall outside this scope and belong to the specialist follow-ups in Step 6.
The breadth is the lesson of Step 3, and the gaps are the lesson of Step 6. A standard inspection spreads its attention across many visible systems, which is exactly why it is worth its illustrative fee: it catches the ordinary problems of a used home efficiently. But the thin bar at the bottom, and the items missing from the chart entirely, are the concealed risks a visual pass cannot reach. When your home’s age, setting, or the generalist’s own notes point at one of those, the specialist follow-up is not an upsell, it is the part of the inspection the standard visit could not perform.
Inspection findings by severity
The second chart answers the question that decides Step 7: of everything an inspection turns up, how much actually warrants action? The stackbar breaks an illustrative report into three severity bands, so the long, alarming list resolves into the small share of items that genuinely move a negotiation. The exact split varies by home, but the shape holds: most findings are minor, a slice are moderate, and a small band are major or safety items.
An illustrative inspection report, by severity of finding
Illustrative shares of the findings in a typical report, summing to 100 percent. Confirm your own report's specifics with your inspector.
Illustrative shares of a report's findings. The 60 percent minor-or-cosmetic band is the normal wear of a used home and rarely worth risking a deal over. The 28 percent moderate band is where a credit or repair request usually lands, and the 12 percent major-or-safety band drives the Step 7 decision to negotiate hard or, rarely, to walk.
The split is the reason Step 5 insists on triage over counting. A report with twenty findings can look daunting until you see that most of them sit in the wide minor band, the ordinary maintenance any used home carries, and only a small share belong to the moderate and major bands that actually justify a renegotiation. A buyer who reacts to the length of the list over-negotiates and risks the deal; a buyer who reads only the summary and misses a major item under-negotiates and inherits the cost. The whole skill of Step 7 is spending your negotiating capital on the narrow dark bands and letting the wide light one go.
Common mistakes buyers make with inspections
Most inspection regrets trace back to the same handful of errors, and naming them is the cheapest way to avoid them.
- Waiving the inspection to win a bid. Dropping the inspection contingency to make an offer look stronger trades a small, known fee for the chance of a five-figure defect you discover after closing with no way out. It is a gamble for buyers who can absorb a bad outcome, not for someone stretching to afford the home, as Step 1 argues.
- Hiring the cheapest inspector. Choosing on price alone on a six-figure purchase is a false economy. A missed major defect dwarfs any savings, so vet on license, insurance, and reviews, and read a sample report before you book.
- Not attending the inspection. Skipping the walkthrough leaves you with a document instead of context. Attending lets you see each issue, ask what is urgent, and learn the home’s systems, which reshapes how you weigh every finding.
- Over-reacting to minor items. Treating a long list of cosmetic and minor findings as a crisis leads buyers to over-negotiate and sink deals on homes they could comfortably keep. Sort by severity and spend your leverage only on what matters.
- Skipping warranted specialist tests. Declining a sewer scope, radon test, pest inspection, or structural evaluation when the home’s age or the generalist’s notes call for one leaves the biggest risks unmeasured. The specialist is the part of the inspection that puts a number on a red flag.
- Missing the contingency deadline. A contingency you let lapse is as good as waived. Calendar the deadline the moment your offer is accepted, and book the inspection early enough to fit a follow-up inside it.
Each mistake shares a root: treating the inspection as a formality to clear rather than the one chance to price a home’s real condition into the decision before it is final.
Troubleshooting: when the inspection gets complicated
Few inspections are perfectly simple, so here is how to handle the situations that most often knock a buyer off course.
The seller wants an as-is sale. An as-is listing means the seller does not intend to make repairs, but it usually does not remove your right to inspect if you kept the contingency. You can still inspect, learn the condition, and decide whether to proceed, ask for a price reduction to reflect the work, or exit with your earnest money. As-is raises the stakes on the inspection rather than lowering them, because you are agreeing to accept the condition, which is all the more reason to know exactly what that condition is before the deadline.
You are in a competitive market pressuring a waiver. When inventory is tight and offers are stacked, some buyers waive the inspection contingency to stand out. Before a full waiver, consider middle paths: a shorter inspection window, a pre-offer inspection where the seller allows it, or a contingency limited to major and safety defects rather than a full repair list. A market that demands a complete waiver is telling you how much risk the purchase is asking you to carry, which is information worth weighing with your agent.
The home is old and the report is long. Older homes generate longer reports, which can alarm a first-time buyer. Age itself is not a defect, and much of a long report on an older home is expected wear. Sort by severity as in Step 5, lean harder on specialist follow-ups for systems near the end of their life, and judge the home by the major and safety bands, not the length of the list.
A major defect turns up. If a specialist confirms a serious problem, a compromised foundation, a failing roof, extensive water damage, treat it as the exact situation the contingency exists for. Get the repair scoped with a real number, then decide among a credit or price reduction, a seller repair, or walking away with your earnest money. A major defect is not automatically a dealbreaker, but it must be priced into the decision, never absorbed silently.
Your home inspection checklist
Before you clear the inspection contingency on any home, walk the sequence in order so nothing is missed.
- Keep the contingency. Confirm your offer includes an inspection contingency with a workable deadline, and calendar that date the moment the offer is accepted.
- Vet and hire the inspector. Gather a few candidates, confirm each is licensed and insured, read recent reviews and a sample report, and choose on quality, not price alone.
- Learn the scope. Read what a standard inspection covers and, just as important, what it excludes, so you know in advance which specialist follow-ups the home may warrant.
- Schedule early and attend. Book the inspection in the first day or two of your window, attend in person, and walk the significant findings with the inspector.
- Read the report by severity. Sort every finding into major versus minor and safety versus cosmetic, and judge the home by the items that matter, not the length of the list.
- Order warranted follow-ups. For any flagged roof, sewer, radon, pest, or foundation concern, order the specialist while the contingency clock still allows it.
- Negotiate or exit before the deadline. Use the findings to request repairs, a credit, or a price reduction, or walk away with your earnest money if the defects are serious enough, all before the contingency expires.
A buyer who works this list in order has turned an anxious formality into a deliberate sequence, which is the whole upgrade this market note exists to deliver.
The bottom line
Getting a home inspection is not a box to tick on the way to closing; it is seven ordered steps, and the buyers who avoid expensive surprises are the ones who work them in sequence rather than rushing or waiving them under pressure. Keep the contingency, hire a qualified inspector, learn the scope, schedule the inspection and attend, read the report by severity, order the specialist follow-ups the home warrants, and use the findings to negotiate repairs, a credit, a lower price, or a clean exit.
Whatever the home and the market, the order is the same and the discipline is the same. Treat the inspection as the one chance to see a six-figure asset’s real condition before the sale is final, spend your attention on the major and safety findings rather than the cosmetic ones, and keep the contingency as the exit you hope not to use but are glad to have. Do that, and the inspection that feels like a hurdle becomes what it always was: the step that lets you buy with your eyes open, on terms you chose, rather than inherit a problem you never saw.
Read this market note as a planning walkthrough with the numbers, not as financial, lending, legal, or professional inspection advice. Every price, percentage, and dollar figure above is illustrative and rounded to show the method, and your own inspection fee, findings, specialist costs, and negotiation will differ by location, home, inspector, and market. Home inspection licensing, contingency customs, disclosure rules, and the scope of a standard inspection vary by market and change over time, so confirm the current local requirements and figures with a qualified real estate agent, a licensed home inspector, and where appropriate an attorney before you waive a contingency, hire an inspector, or act on a report.
Frequently asked questions
How do I get a home inspection step by step?
Getting a home inspection follows a clear order rather than a scramble after your offer is accepted. First you keep an inspection contingency in your offer so you have the contractual right and a deadline to inspect, then you find and vet a licensed, insured inspector, learn what a standard inspection covers and what it does not, schedule the visit and attend in person, read the report by separating major from minor and safety from cosmetic, order specialist follow-ups for anything the generalist flags, and finally use the findings to negotiate repairs, a credit, a price reduction, or to walk away. Each step feeds the next, which is why skipping the contingency or the attendance is where buyers lose their leverage or their protection. Treat the seven steps in this market note as an order of operations, not a menu.
How much does a home inspection cost?
A standard home inspection is commonly an illustrative few hundred dollars, paid by the buyer out of pocket, and the exact figure varies widely by home size, age, location, and the inspector's experience. A larger or older home, or one with a crawlspace and multiple systems, typically costs more than a small condo. Specialist follow-ups such as a sewer scope, a radon test, a pest inspection, or a structural evaluation are usually priced separately and add to the total. Against a six-figure purchase, the inspection fee is small relative to what it can reveal, which is why shopping only for the cheapest inspector often costs more than it saves. Confirm the current local price with two or three inspectors before you book, since every figure here is illustrative.
Do I have to attend the home inspection?
You are generally not required to attend, but attending in person is one of the most valuable things a buyer can do. Walking the home with the inspector lets you see each issue in context, ask what is urgent versus cosmetic, and learn where the shutoffs and systems are, which a written report alone cannot convey. Many buyers arrive for the last portion of the inspection so the inspector has time to work uninterrupted, then walk the findings together. If you genuinely cannot be there, ask whether a phone or video walkthrough is possible and read the full report closely with your agent. Seeing a stained ceiling or a corroded pipe in person changes how you weigh it far more than a line in a document.
What does a home inspection not cover?
A standard inspection is a visual, non-invasive examination of the home's accessible systems, so it has real limits. Inspectors generally do not open walls, move heavy furniture, dig up buried lines, or test anything that would damage the property, which means concealed defects can be missed. Common exclusions include the sewer line, the presence of radon, mold behind surfaces, pests inside structures, and detailed structural or specialty-system analysis, all of which usually require a separate specialist. The report describes the condition on the day of the visit, not a warranty of future performance. Reading the scope and exclusions section tells you what was and was not examined, and it points you toward the specialist follow-ups worth ordering when the generalist flags a concern or the home's age warrants it.
What happens if the inspection finds problems?
Finding problems is the normal outcome, not a disaster, because no used home is perfect and the inspection exists to price the condition into your decision. Once you have the report, you separate the findings by severity and decide which ones matter, then you have several paths: request that the seller repair specific items before closing, ask for a closing credit or a price reduction to cover the work yourself, order a specialist to scope a major item precisely, or, if you kept an inspection contingency and the defects are serious enough, exit the contract with your earnest money. The right response depends on the market, the age of the home, and how the numbers land, and over-reacting to minor items can cost you a home you could comfortably keep. Lean on your agent to weigh which findings are worth a renegotiation.
Can I get an inspection contingency in a competitive market?
In a hot, low-inventory market some buyers feel pressure to waive the inspection contingency to make their offer more attractive, but there are middle paths that keep more protection than a full waiver. You might shorten the inspection window, schedule an inspection before you make your offer where the seller allows it, or keep the contingency only for major and safety defects rather than a full repair list. Waiving the inspection entirely trades a small, known fee for the risk of a five-figure surprise you discover after closing with no way out, which is a gamble that belongs to buyers who can absorb a bad outcome, not to someone stretching to afford the purchase. Discuss the options with your agent, and treat a market that demands a full waiver as information about how much risk the purchase is asking you to carry.
How long does a home inspection take and when do I get the report?
A standard inspection commonly takes a few hours depending on the home's size, age, and condition, with larger and older homes taking longer. You usually receive a written report within a day or two, often a detailed document with photographs, a summary of significant findings, and notes on the scope and exclusions. Because your inspection contingency runs on a deadline set in the contract, the timing matters: schedule the inspection early in the contingency window so you have room to order any specialist follow-ups and still negotiate before the deadline. Confirm both the turnaround time and your contingency deadline up front, and ask the inspector whether they are available to answer questions after you have read the report, since a clarifying call can change how you weigh a finding.
Is a home inspection the same as an appraisal?
No, and confusing the two is common. A home inspection is a visual assessment of the property's physical condition, ordered by and for the buyer, to reveal defects and inform your negotiation and decision. An appraisal is a lender-ordered valuation that estimates the home's market value to confirm the loan is supported by the collateral, and it does not examine systems in the same detailed way. You can keep separate contingencies for each, and they protect against different risks: the inspection against a home in worse condition than expected, the appraisal against paying more than the home is worth. Our companion market notes cover the offer, the contingencies, and the closing figures that sit alongside the inspection, and confirming how each contingency works locally is worth a conversation with your agent.

Hamza Hai is the editor of AbodeWave. She holds an MBA and reviews the site's articles against our editorial standards, checking that every figure is labelled for what it is, that nothing is presented as verified fact without a source the reader can check, and that the writing stays useful to a non-specialist.